View Transaction History From All Major EVM Networks in One Feed
With Zerion you can see all your transactions on major EVM networks in one feed. And not just yours — you can explore the transaction history of any address on all major Layer 1 and Layer 2 networks on one page.

If you’re an active web3 citizen, you likely use more than just Ethereum.
Most wallets weren’t built for that. If you want to check transactions on different networks, you need to either switch between different networks or keep several tabs open in the browser. You then pore over Etherscan, Polygonscan, the versions for Optimism, etc.
With Zerion Wallet, you can see all your transactions on major EVM networks in one feed. And not just yours — you can explore the transaction history of any address on all major Layer 1 and Layer 2 networks on one page.
In this post, we’ll explore what transaction history is, why it’s useful, and how to view the whole multichain transaction history in one feed with Zerion.
What the transaction history is
Any crypto transaction is permanently recorded on the blockchain.
Before 2021, “the blockchain” typically meant the Ethereum blockchain. Transactions were mostly simple transfers of ETH or ERC-20 tokens. You can easily look up these transactions in a block explorer like Etherscan.
With DeFi and NFTs, things got a lot more complicated.
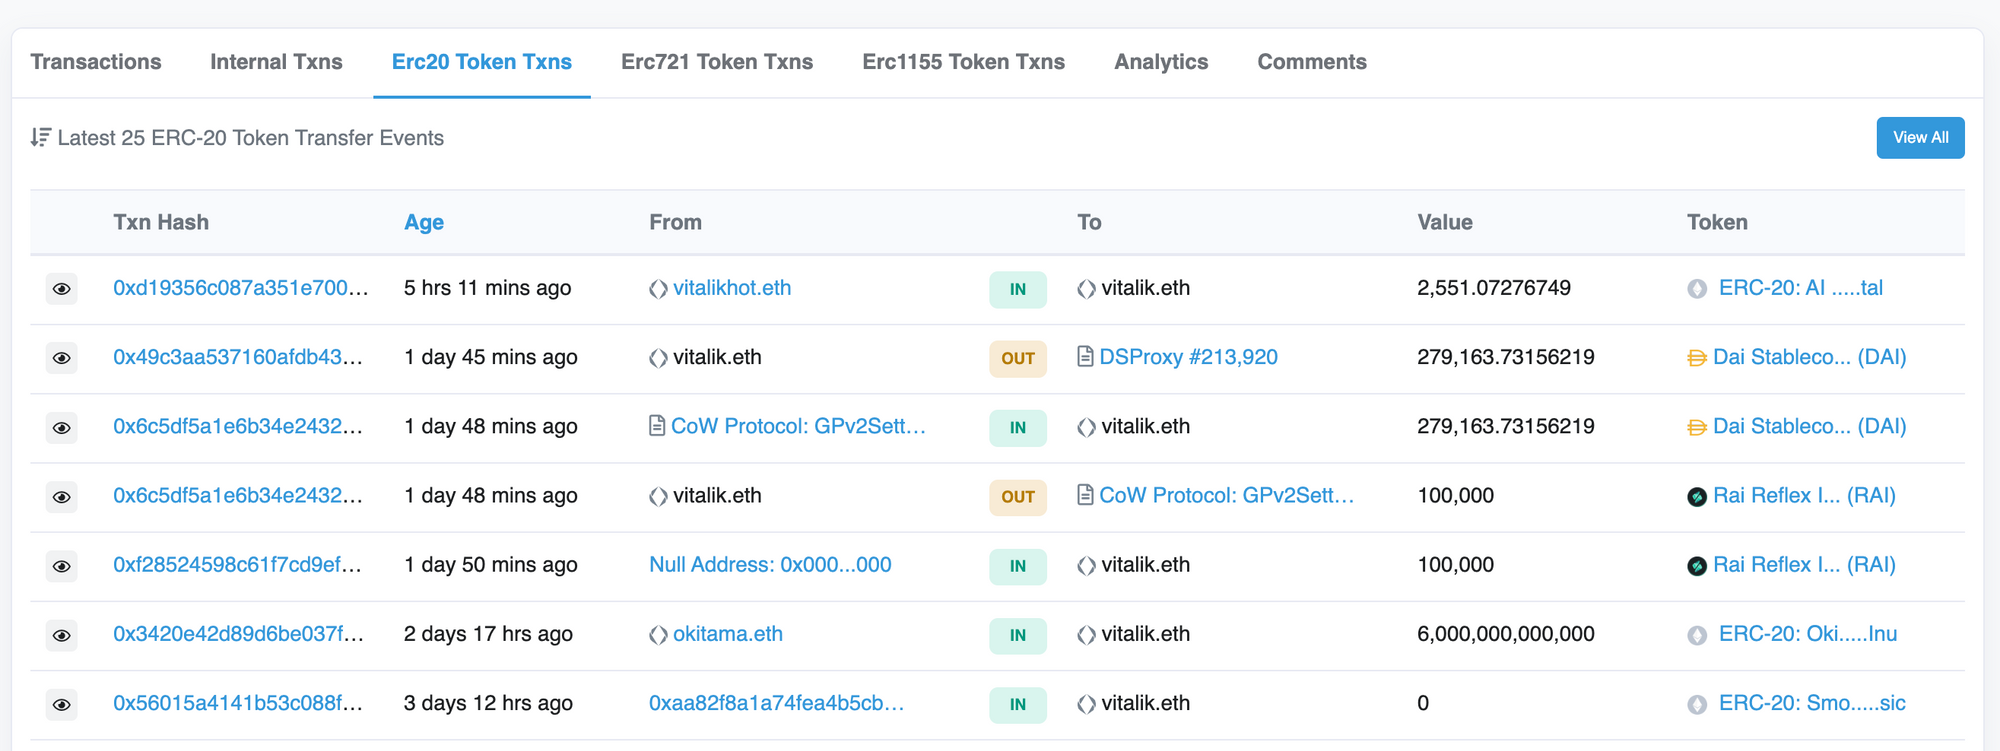
A contract interaction (like a DEX swap) usually shows up as an ERC-20 token transfer. And you need to read into each transaction to understand what’s happening. It’s great for digging into details of exotic smart contract calls, but most of this data is overkill for a regular degen.
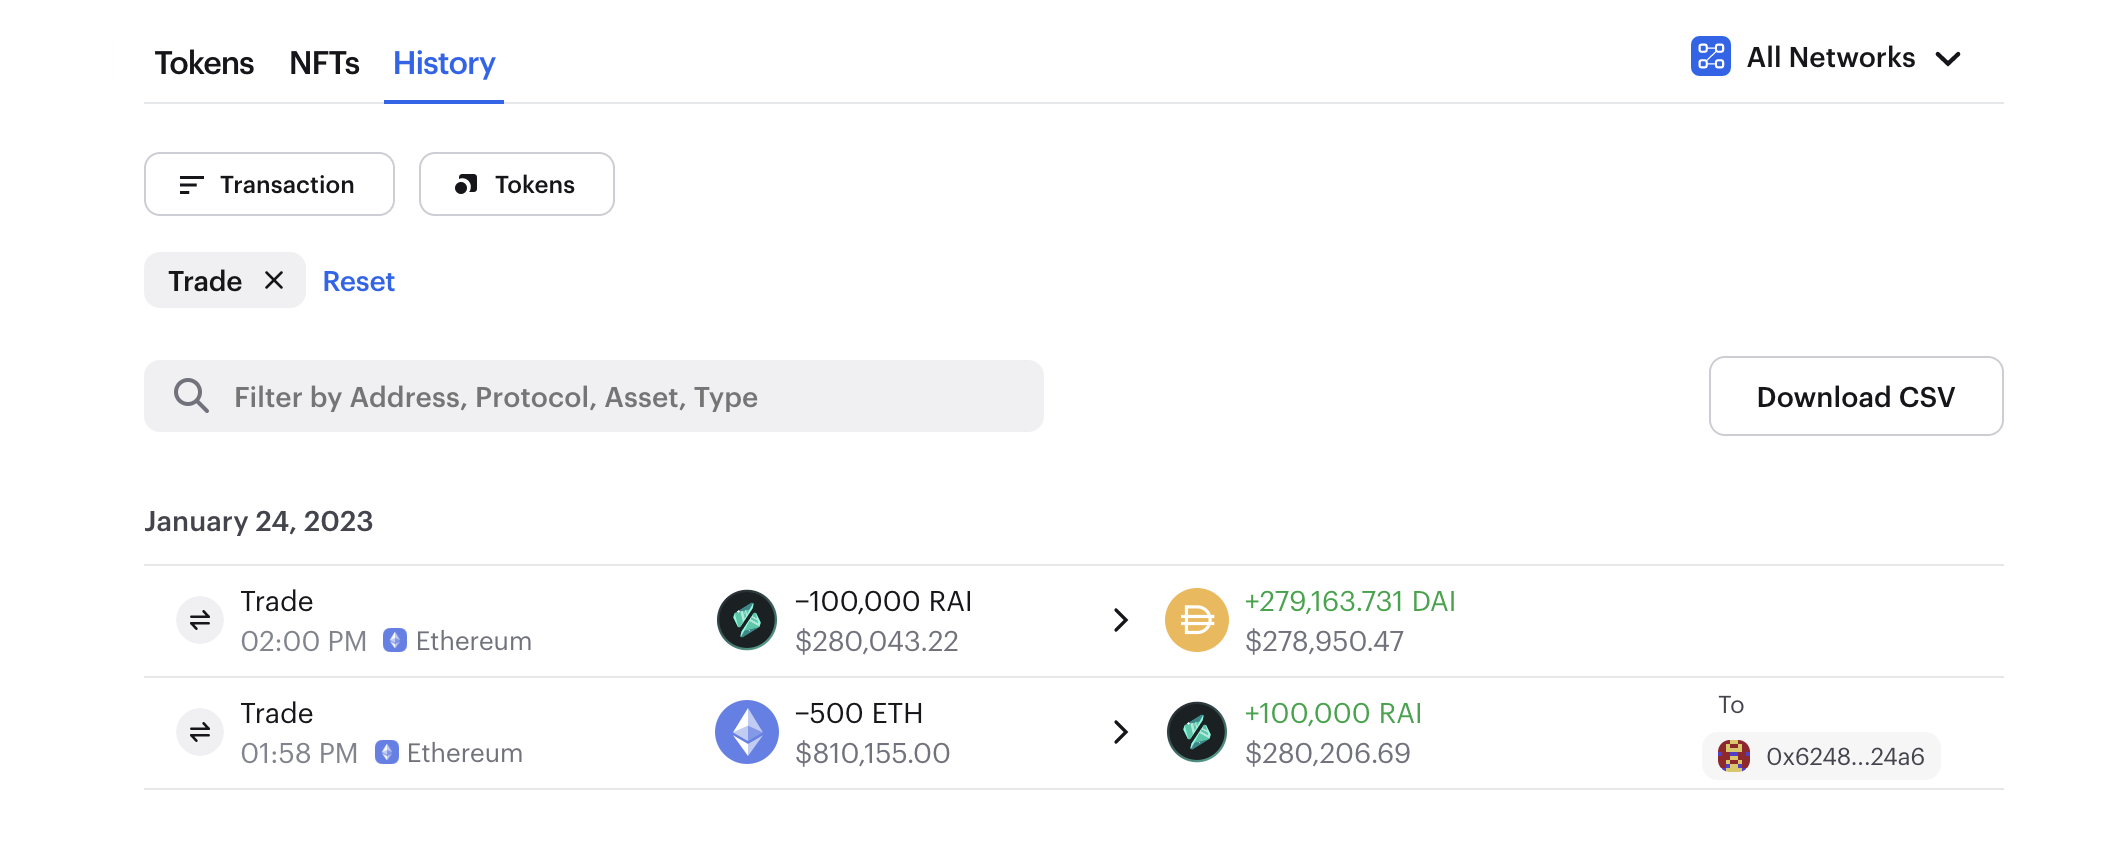
With Zerion, reading transaction data is a lot easier — just go to transaction history for vitalik.ens and filter by trade, mint, send, receive, and other type of transaction:
If you use more than just Ethereum, you need a separate block explorer for each network. Polygonscan for Polygon, Optimistic Etherscan for Optimism, and so on.
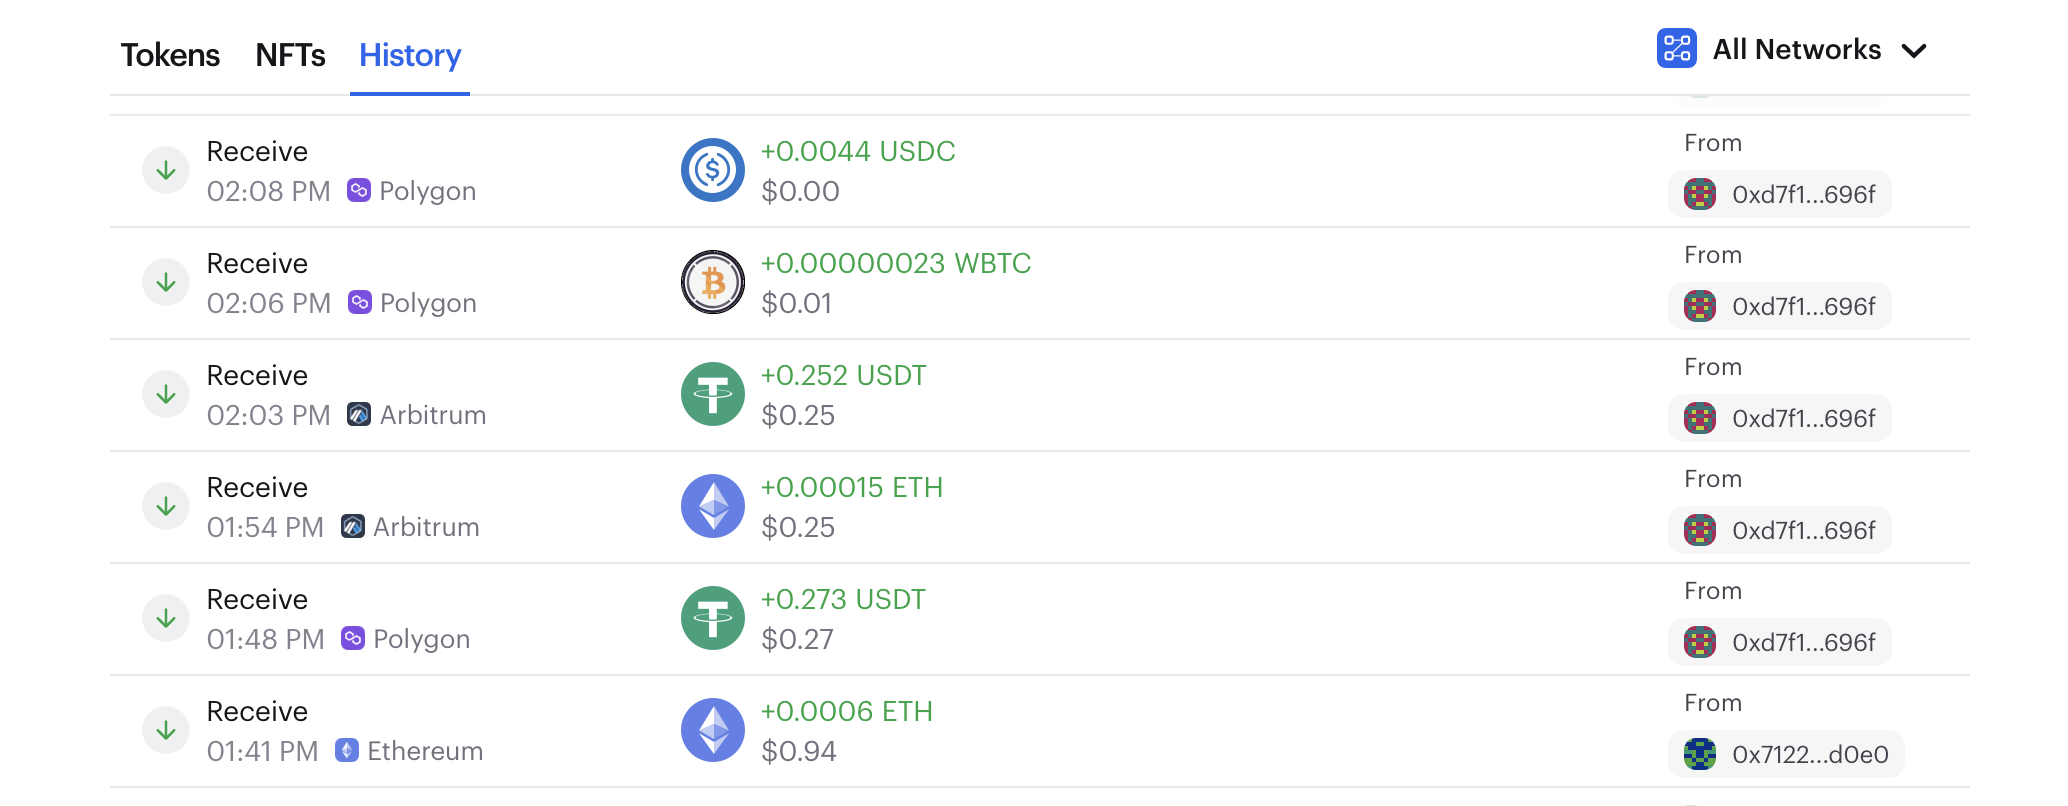
With Zerion, the history shows all transactions for all major Layer 1 and Layer 2 EVM networks. For example, you can see which tokens are sent as swap fees to Zerion's multisigs on Arbitrum, Polygon, and other networks:
Why do you need transaction history?
The two cases when you need to explore transaction history are to check what you’ve been doing and to see what others are doing (finding alpha!).
Explore your transaction history
Your own transaction history is needed for the following:
- Checking the proof that you’ve received the transaction
- Checking that the contract interaction (e.g., NFT mint or DEX swap) went through and is validated and is validated
- Exploring your trading history to understand profit and loss
- Preparing for crypto taxes
Research what others do across all networks
Checking the transaction history for an address can help you to:
- Find at what price that address has entered a token
- See what other tokens an address previously traded
- See when it sweeps floors for NFT collections
- Find which smart contracts the address used to hopefully find early airdrop opportunities or attractive yields
The great news is that all this is very easy to do with Zerion.
How to view full multichain transaction history with Zerion
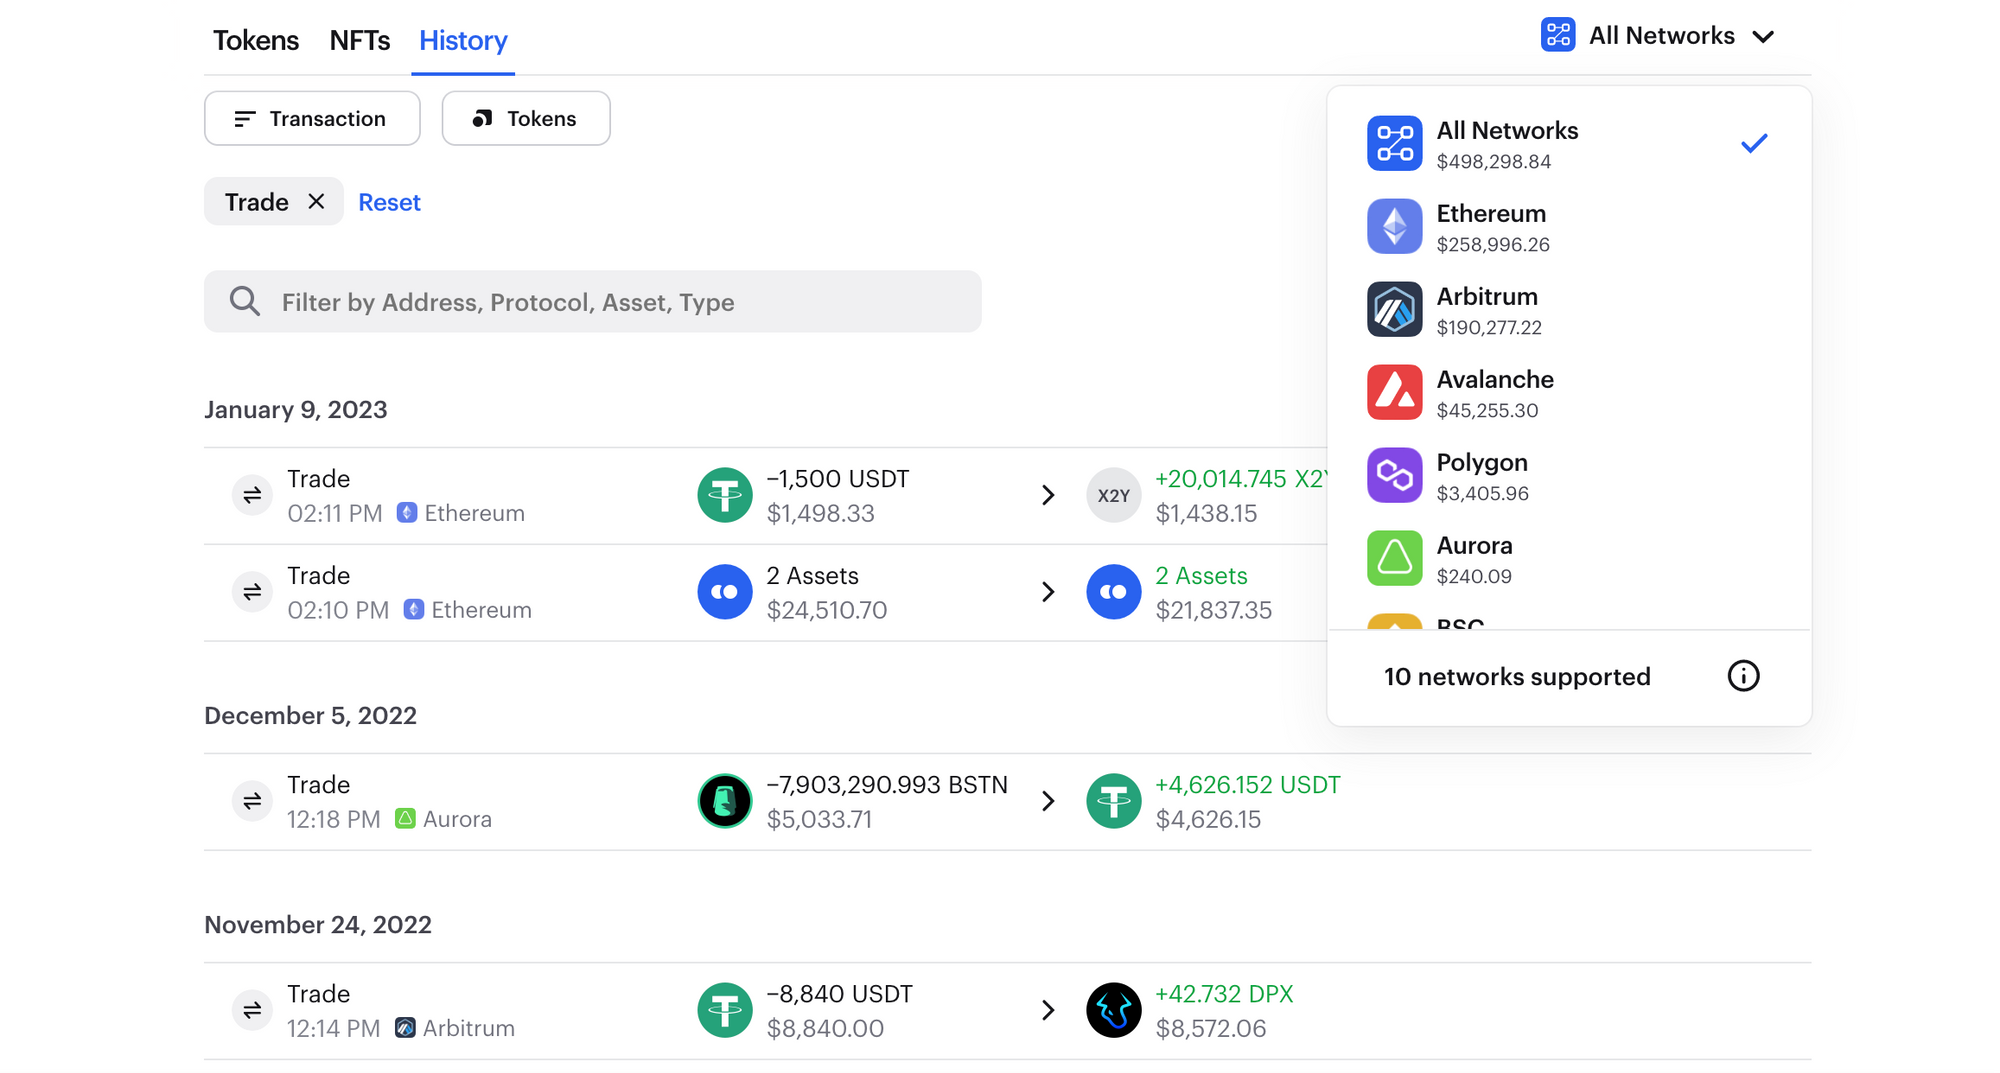
Zerion gives you a complete history of all transactions for any address on ten networks in one feed — and in plain, human-readable format.
All transactions are arranged by date and are filterable by token type and transaction type (send, receive, mint, trade, other).
Imagine the time it saves on opening dozens of tabs with different block explorers and trying to decipher what those transactions mean!
Here’s how to get transaction history with Zerion:
- Open app.zerion.io or download Zerion Wallet
- In the search field, enter the address (or ENS, Lens, or Unstoppable Domain) for which you want to check the transaction history
- Click on the ‘History’ tab
- You can filter transaction type, tokens vs. NFTs, and networks
- You can click on each transaction and see more details, such as the fee paid or transaction hash
- If you want to deeper analysis, you can also download transaction history as a CSV file
FAQ
What blockchains and networks does Zerion’s transactions history support?
Zerion shows transaction history for all major L1 and L2 networks: Ethereum, Polygon, BSC, Fantom, Avalanche, Optimism, Arbitrum, and Gnosis. You can also connect your Ledger Ethereum wallet and see your transactions. In the History tab, you can switch the toggle between them or show them all at the same time.
How to view & download DeFi transaction history?
You can enter any Ethereum address into the Zerion app, which will return a full transaction history across all major networks. This includes all smart contract interactions such as swaps, staking, and more.
How to get all transactions for an Ethereum address?
Just enter the Ethereum address into the Zerion app, and it will show the full history in an easy-to-read format. If you want more details for a specific transaction, just enter click on the link to Etherscan or copy the transaction hash to find it in other block explorers.
What’s the best Polygon transaction history tracking?
Polygonscan is a popular block explorer for Polygon. If you want something easier to use, you can enter the Polygon address into the Zerion app, then click on the ‘History’ tab and choose Polygon as network — you will see the full Polygon transaction history for that address.
How to track Fantom transactions?
The easiest way to track Fantom transactions is to just enter the Fantom address into the Zerion app and then click the ‘History’ tab. It will show all transactions and you can select Fantom as the network to see only the Fantom transactions, including mints, trades, and other smart contract interactions.
How to view transaction history on a deleted MetaMask account?
All transactions are recorded on the blockchain. If you deleted your MetaMask account, you can simply enter the address into the Zerion app, and it will return the full balance and transaction history. You can also import your MetaMask account into Zerion and sign transactions on the go.
Where do I download my complete transaction history?
First, enter the address into the Zerion app and click on the ‘History’ tab. After that click ‘Download CSV’ to get a file with all your transactions. You can then import that file into Excel, Google Sheets, or any other software.
Why can I not see any transactions on MetaMask?
If you don’t see some transactions in MetaMask, try entering that address into the Zerion app. It will then return all token balances and a complete transaction history.
How to monitor Avalanche transactions?
You can enter any Avalanche C-Chain address into the Zerion app, and it will return the full transaction history. Select Avalanche as the network to only show transactions on that chain.
How to check Binance Smart Chain transactions for an address?
You can enter any BSC address into the Zerion app and get the full transaction history. Select BSC as the network to only show transactions on that chain.
How to track cross-chain transaction history?
With Zerion's wallet tracker, you can track your transaction history across many chains. Just open Zerion, select the History tab, and it will show your transactions across all supported chains. You can also view transaction history for any address, not only your own — just enter that address in the search field.
How to track Layer-2 transactions?
With Zerion, you can view all your Layer-2 transactions in one place. Just enter a wallet address in the search field, and it will show you transactions across Base, Optimism, Arbitrum, and 30+ other supported L2 chains.
How do I track cross-chain transaction history?
You can track your cross-chain transaction history in Zerion. It automatically aggregates all transactions across all major EVM networks into a single, easy-to-read feed. Just connect or import your wallet, and all your activity will be displayed in one place.